Teaching Printing using Research-Based Best Practices
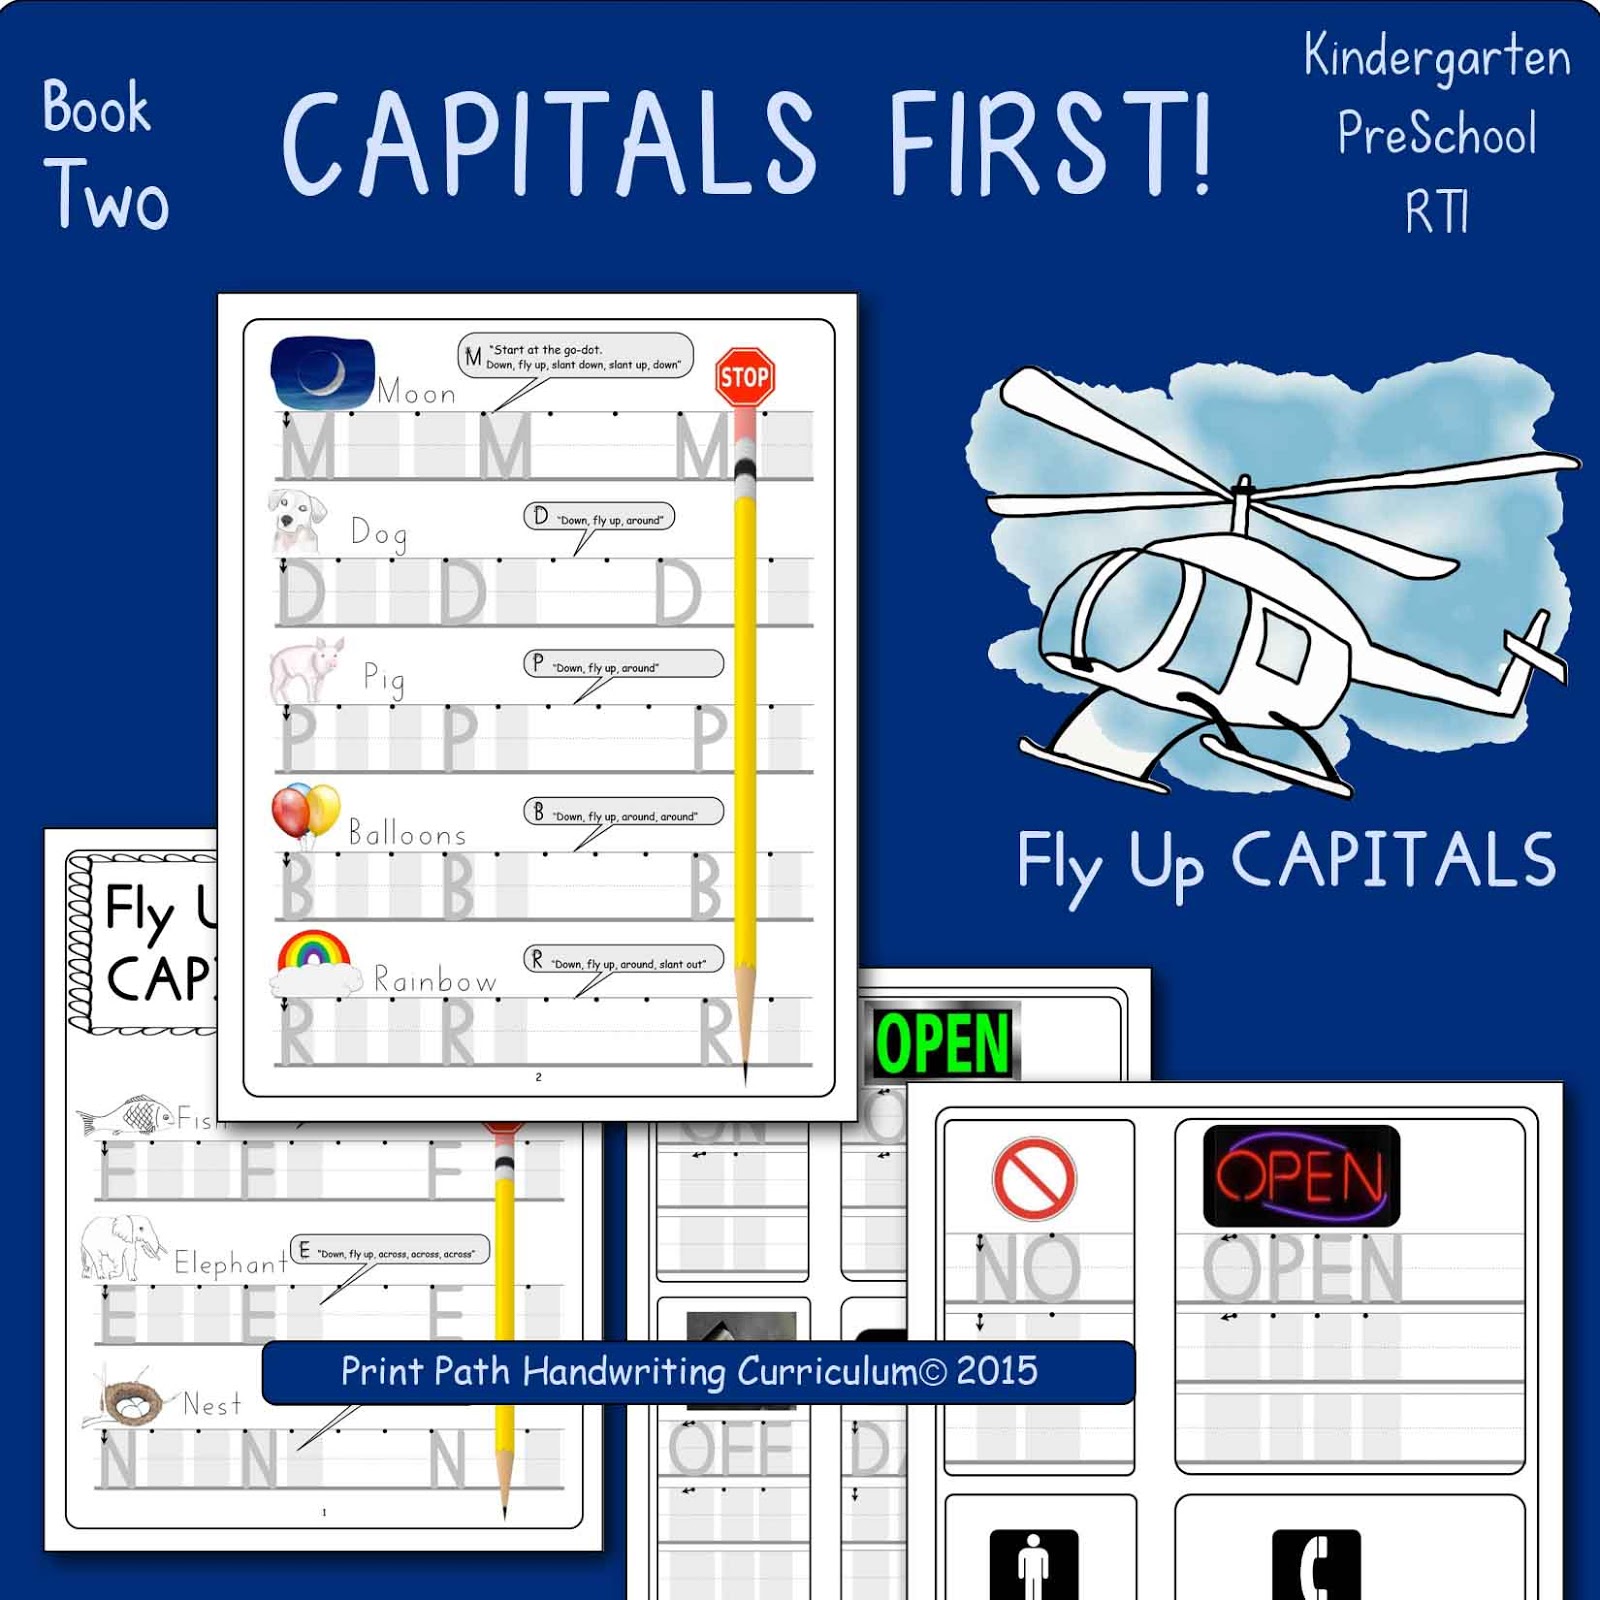
1. Clear lesson goals – “Today you will learn how to print the first two letters in the Fly Up Capitals group.” “After you practice you will be able to start F and E at the top, know how to make them correctly, and be able to fit them on the lines.
2. Show and Tell – “Watch me and listen.” Model slow writing of the letter while using the path of movement language. “Down, fly up, across, across, across.” “To make the letter ___.”
3. Checking for Understanding – “Now you tell me how to make an E.” Students should, all together, say “Down, fly up, across, across, across” while you print another E.
4. Students Show new learning – Students say the path of movement language again, while they write their own letter, e.g., in the air with their index finger or on a personal whiteboard.
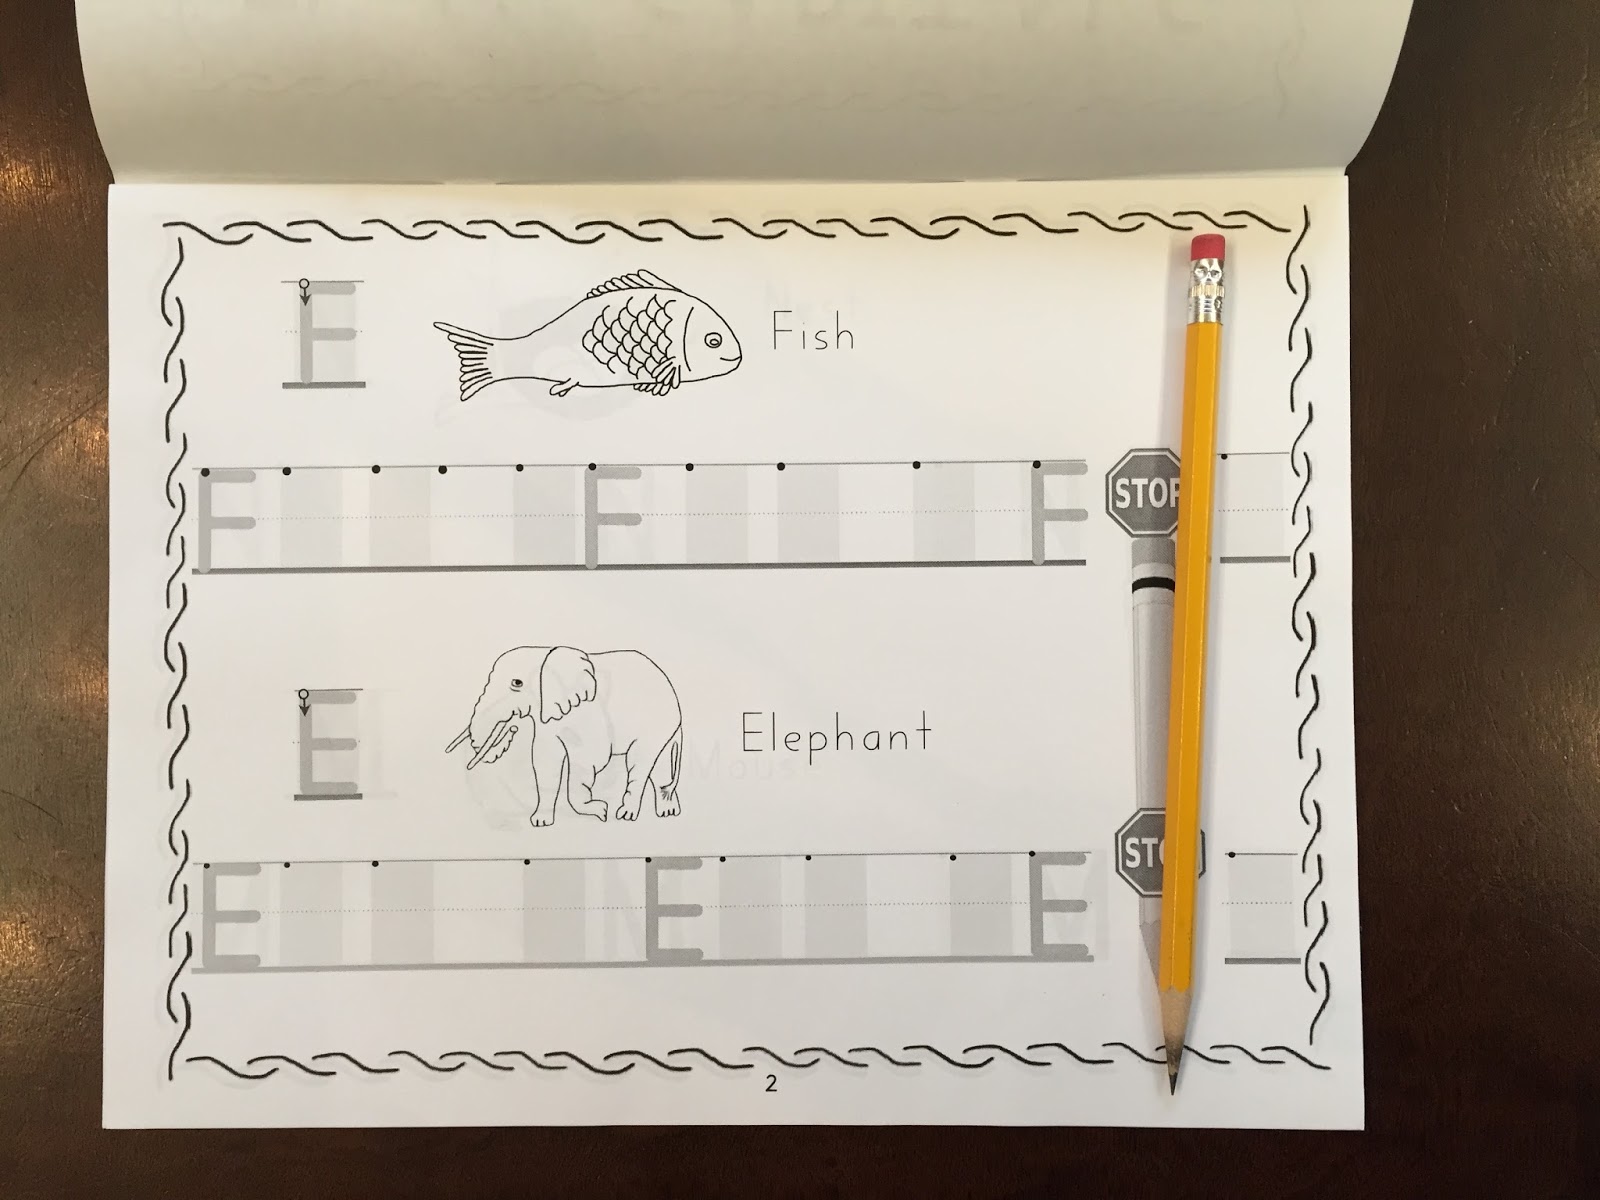
5. Plenty of practice – Students can practice while standing at a whiteboard, with index fingers in a box of shallow sand, rolling out letters with play-dough, constructing capital letters with lines and curves, and of course practicing in their practice book.
 Make sure that your students are practicing correctly
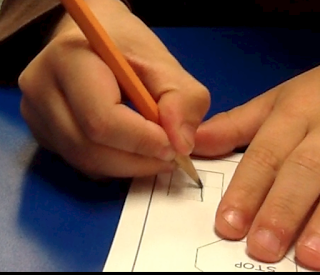
. When students are first learning new letters encourage them to repeat the path of movement language over and over to themselves while they print. I recommend that teachers support small groups of 4 to 6 children working in their practice books, making sure that each child puts their pencils down on the stop sign at the end of each line so that you can witness they’re making their best last letter.
6. Feedback – Effective feedback involves giving students honest, timely, and precise feedback about their letter formations rather than general praise. For instance, if they show you ‘down, across, across’ movements to make an E, but they are not yet touching the writing line, make sure that they understand they have shown you that they do know how to make an E! The next thing they will do is to work on correct size and touching the writing line.
7. Giving Students Time to Succeed – Learning to print legibly is a motor skill that requires many correctly executed repetitions to become automatic. Hold your students to high standards, not just during handwriting practice, but also during other writing times. Printing is the cornerstone of future written language production so nurture your students by providing additional instruction or practice books if that is what they need.
8. Use Metacognition – When you are teaching letter formations, either during large group instruction or during one to one sessions, remember to model making common errors, how you recognize that those letter formations are incorrect, and how they can be made correctly.
Adapted from: Top 10 Evidence-Based Teaching Strategies
by Shaun Killian in The Australian Society for Evidence-Based Teaching,
These principles will improve the effectiveness of teaching using any handwriting curriculum. I have used specific examples from Print Path’s handwriting curriculum.


 Make sure that your students are practicing correctly. When students are first learning new letters encourage them to repeat the path of movement language over and over to themselves while they print. I recommend that teachers support small groups of 4 to 6 children working in their practice books, making sure that each child puts their pencils down on the stop sign at the end of each line so that you can witness they’re making their best last letter.
So interesting to read. As a middle school teacher, I don't realize all the important steps kids have mastered to their current point. Learning about the printing process is fascinating. Thank you!
Great advice and applicable to cursive instruction, too.
Absolutely!
Great advice for teaching your students how to print.
I loved your detailed tips on teaching print handwriting! It is so helpful, thank you!
Thanks for a very useful checklist that can also be translated to incorporating best practices into lessons for other subject areas. I always learn so much from your posts!